- As seen on
-

-

-

-


Bright and shiny new moldings will obviously improve the appearance of any car that they are installed on. In order to look their best however, molding components must absolutely be installed correctly. Installing new moldings is never a quick, snap-together procedure, and the job usually requires skill, the ability to follow directions and perhaps a bit of patience. The El Camino SS pictured above is a good example of just how great a full set of new moldings can look, and at the same time, it hints at the possible complexity of the job.
Here at the Original Parts Group headquarters, we usually turn to the guys in the Sourcing Department when we get questions regarding molding installation on a specific make or model. In that light, we asked the Sourcing Department for a few general molding installation tips that we could pass along to our customers with their own molding projects. Here’s what they had to say:
OPGI’s Top 5 Tech Tips: Moldings
#1. Protect your paint with masking tape when drilling new holes or working with fresh paint.
Protecting fresh paint from scratches and chips is always a top priority when putting the finishing touches on your car. Laying down a protective layer of masking tape will ensure a damage free installation of your moldings and trim.
#2. Always inspect the clips or retainers and replace if broken or worn.
Whether the molding clips are metal or plastic, always inspect those clips for damage. Trying to reuse decades old hardware could lead to installation difficulty and possibly loose or missing moldings.
#3. Always use the correct tools to remove molding to avoid damage.
Never use screwdrivers or other incorrect tools to try and removing moldings. This will more often than not damage the molding and scratch the finish of your car. A molding removal tool such as CVT0039 is inexpensive insurance that not only protects your car but makes the removal process so much easier.
#4. Looking to save your original aluminum moldings? Remove them from the car and lightly wet sand with 2500 grit sand paper. This will remove fine scratches and other blemishes once buffed using a high quality aluminum polish.
#5. If using speed nuts on new molding, cut the threads before installing onto the car.
Certain moldings require the use of speed nuts that cuts a thread into the soft aluminum stud to secure the piece. Install the speed nut and cut the threads before installing on the car. This will make installation easier and quicker.
 #1. Be sure to protect the paint with masking tape. Blue Painter’s tape is perfect for this, and will not leave residue or harm paint.
 #2. Always inspect clips and retainers before assembly. It’s best to familiarize yourself with how they fasten the molding to the vehicle. Take your time, this shouldn’t be a “rush” project!
 #3. Always use the correct tools. Never use screwdrivers, etc. to pry off moldings. They will crimp very easily! OPGI offers these for sale – click this link.
 #4. Saving any of the original molding will involve wet sanding and hand polishing.
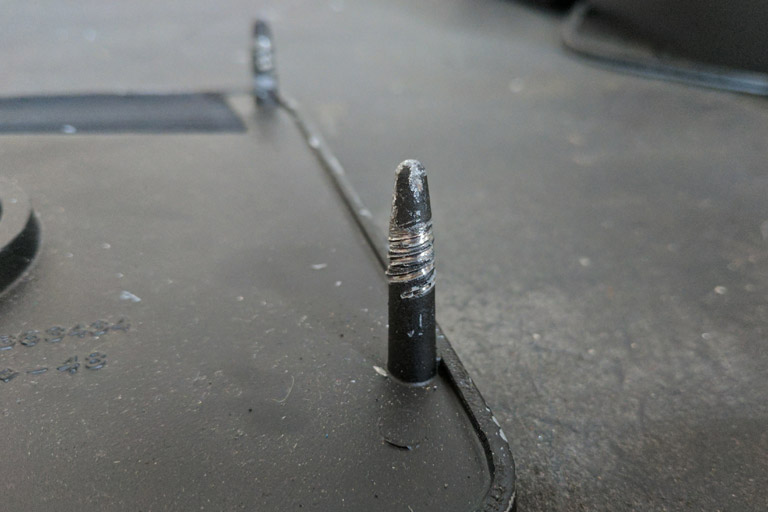
#5. When using speed nuts, be sure to cut the threads before installing them on the car.
Shop for restoration parts at www.opgi.com.
Follow us on our OPGI Facebook page. Click here and Like us!
Leave a Reply